Building up a brand new gaming system can be done in under one hour, even without a lot of experience. When I started building my new gaming PC, it took me about one hour because I had some problems. However, to build a PC, there are some tools that you definitely need, and some that make the building much more comfortable. Tools that you need to build a gaming PC are:
- Screwdriver Set
- Anti-Static Equipment
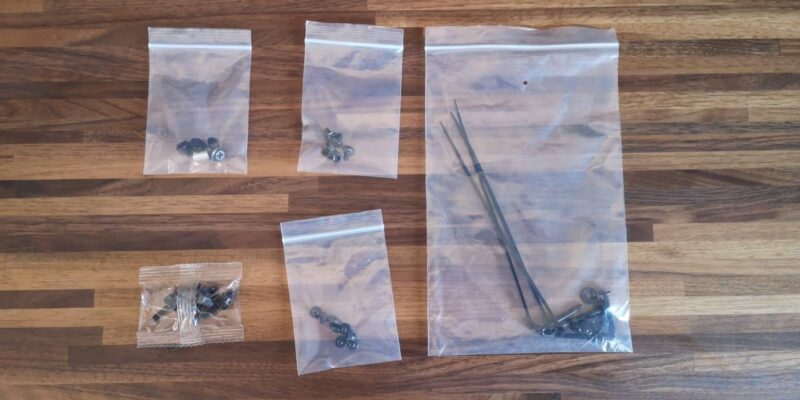
- Zip Ties
- Thermal Paste
- Rubbing Alcohol
- Magnetic Screw Holder
To build a gaming PC together, the only required tool is a Phillips Head Screwdriver. The motherboard and PC case contains all required screws and cables, which only need to be connected. Anti-static equipment, zip ties, or headlamps make the building process easier, and thermal paste or rubbing alcohol is only required if the CPU heatsink has to be removed.
A Screwdriver Set To Apply All Scews:
Most of the components don’t require any tools to be assembled, but the motherboard, CPU heatsink, power supply, M.2 SSD, and fans require a screwdriver. Also, depending on the case, you can remove parts to make more space or add more to it if needed.
While putting the motherboard into the case, having a screwdriver with a magnetic tip is highly recommended. The magnetic tip makes sure the screw doesn’t fall off, which becomes handy if there is not enough space for your hand. For a more comfortable process, I recommend having a short shaft screwdriver and a long shaft screwdriver.
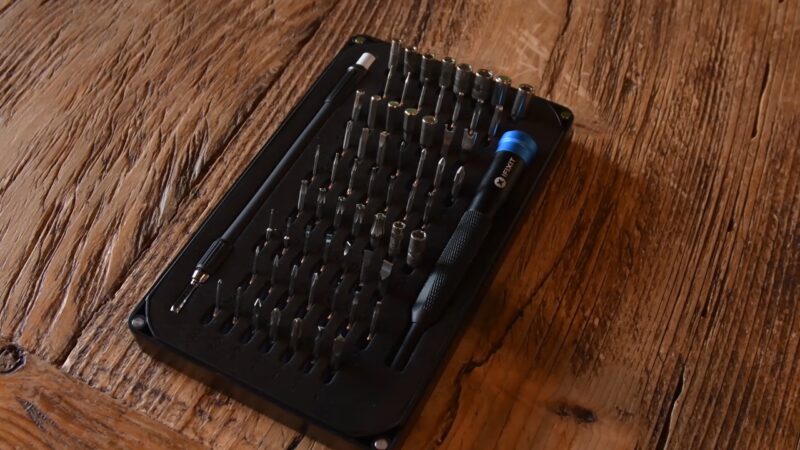
Most of the time, you will only need a PH2 Phillips screwdriver to apply all the components. If you want to add more special parts like an AIO (All-In-One) water cooling system like an NZXT M22, you may need different screwdriver sizes. Going for a screwdriver set with the most common sizes guarantees that you always have the right tools ready.
Screwdriver sets can already be found for $5-$10 on Amazon, and more quality products for about $20-$40. A premium screwdriver set is the IFixit Mako Driver Kit with 64 different bits and a lifetime warranty.
Anti-Static Equipment To Ground Yourself:
When building a gaming PC together, the last thing you want to do is to damage or destroy your new parts. To prevent static charge, wearing an anti-static wrist strap that is connected to a metal object is the best solution. If you don’t own or want to use such a wrist strap, you can also touch a raw metal object like a metal table leg to ground yourself easily. Just make sure to touch a metal object once in a while, and you should be good to go.
Besides the anti-static wrist straps, there are also some other products that eliminate electrostatic discharge (ESD), like an anti-static mat. Such mats are usually used in electronic assembly lines to protect sensitive products or equipment. Anti-static mats are much more expensive than a wrist band, which can already be purchased for $5.
When you start building, make sure you don’t stay on a carpet, as it will build up a static charge on your body, which discharges when touching one of your components. If possible, build on a wooden surface like your desk or any other non-insulating surfaces.
Zip Ties For Cable Management:
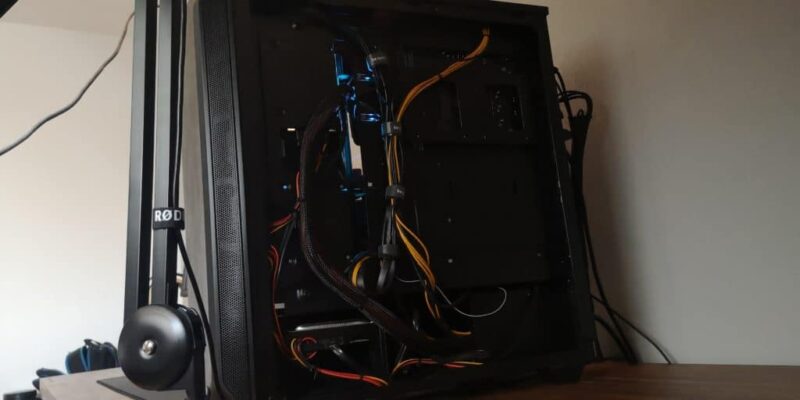
Having all sorts of cables lying around in your finished build not only looks awful, but it also influences the airflow throughout the case. With a couple of zip ties, create small bundles of cables and guide them into the case’s backside. Make sure to cut the rest of the zip ties, so you have a clean look at the end.
In most cases, a new PC case already has some zip ties included, so you don’t have to buy any of them. Just make sure to use them wisely, and cut down the rest of them, so it looks great in the end. For cutting zip ties, going for a small wire cutter would be best. You can find both products for a few dollars online, and sometimes even in packages for a lower price.
Thermal Paste For Increased Heat Transfer:
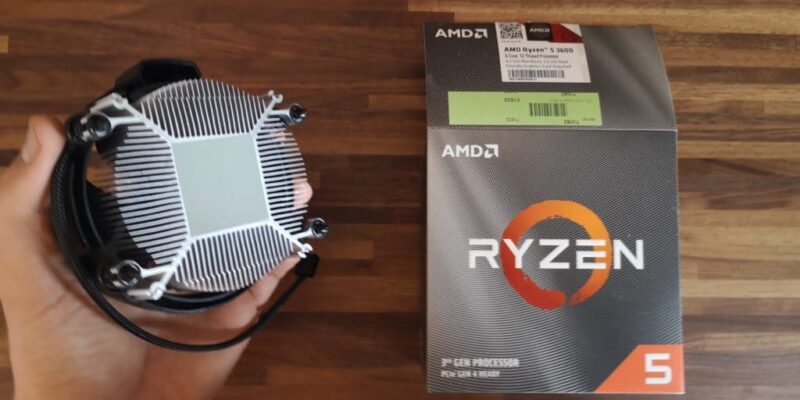
Thermal paste is another tool that can be handy in certain situations. If you want to remove the heat sink from the CPU or install a brand new fan or AIO water cooler, applying a bit of thermal paste on top of the CPU is recommended.
Thermal paste, also called thermal compound, or heat paste, is commonly used between heat sinks and heat sources like a CPU, to eliminate air gaps in order to maximize heat transfer. When applying thermal paste, make sure not to use too much, as it spreads out when the CPU fan gets installed.
Most of the time, when you buy a brand new AIO water cooling system or a CPU fan, there is already a layer of thermal paste applied. However, having a spare tube with thermal paste is recommended, as they last long and are relatively cheap.
Rubbing Alcohol To Remove Thermal Paste:
In addition to thermal paste, you should also have a bit of rubbing alcohol, which is used to clean the CPU’s surface from thermal paste leftovers. The big advantage of such special alcohol is that it’s strong enough to clean most surfaces from the thermal paste, and evaporates quickly without leftovers or causing corrosion.
Rubbing alcohol can also be used to clean other surfaces because of its cleaning potential and quick evaporation. However, the time the alcohol takes to evaporate varies depending on the product, and I would not recommend using regular alcohol to clean your PC parts.
Also, when you are finished cleaning the CPU’s surface, just wait a few seconds before applying new thermal paste, just to make sure the top is completely dry.
Magnetic Screw Holder For Storing Unused Screws:
Another little tool that makes building a gaming PC a bit more comfortable. Such magnetic screw holders are usually small metal bowls with a strong magnet at the bottom, which keeps all metal objects inside the bowl in place.
Losing a pair of screws can happen pretty quickly, as most of them are very small and like to fall into dark areas to disappear forever. If you used a magnetic holder once, you probably like it a lot, as it is super useful.
Is a PC hard to build?
If you never built a PC on your own, it can be a bit scary, as expensive parts can break easily. But that doesn’t mean that it is difficult. Building your new gaming setup is relatively easy and can be done by anyone who has a bit of knowledge in the field. Most PC components can only be mounted in one spot and one way. For instance, RAM bars have a small notch, which also takes place on a motherboard. The RAM bar can only be installed if both notches line up.
For me, the only problem I faced was installing my NZXT M22 AIO water cooler and connecting everything with the motherboard in the right spot. To build the entire system it took me about one hour, without any experience in PC building.
If you’re not sure about a step, go to YouTube and search for PC building tutorials. There are plenty of good videos out there, which can help you a lot.
Gaming PC Parts Lifespan
On average, a gaming PC can last anywhere from 2 to 3 years, but with proper care and maintenance, it can stretch up to 8 years or even more. The lifespan of each component varies, with some parts like the motherboard potentially lasting up to 20 years if well-maintained.
However, the GPU, CPU, and RAM, which are the heart and soul of your gaming experience, may need to be upgraded more frequently due to rapid advancements in technology.
Let’s delve into the lifespan of various gaming PC components:
| Component | Lifespan | Notes |
|---|---|---|
| Graphics Cards (GPU) | 5-7 years | Rapid pace of technological advancements in the gaming industry might render your GPU obsolete before it physically fails. |
| Processors (CPU) | 7-10 years | CPU becomes outdated after a decade. |
| CPU Coolers | Varies | Lifespan depends on its type. Air coolers can last indefinitely unless they rust, while liquid coolers typically last 5-6 years. |
| Motherboards | 20+ years | Motherboards can last up to 20 years or more if properly cared for. Might need an upgrade before the motherboard physically fails. |
| RAM | 10+ years | Might require upgrade after 6-7 years due to the increasing demands of modern applications and games. |
| Storage (M.2, HDD, SSD) | Varies | SSDs can last for a minimum of ten years, HDDs can last 5-8 years, depending on the level of usage. |
The lifespan of your gaming PC can also be influenced by external factors such as dust, excessive moisture, and overheating. Regular cleaning, proper ventilation, and maintaining a dry environment can help extend the life of your gaming PC.
In terms of pre-built vs custom gaming PCs, the lifespan doesn’t differ significantly. However, a custom-built PC might offer better performance for the same price, which could potentially extend the time before an upgrade is needed.
To increase the lifespan of your gaming PC components, consider regular upgrades, especially for RAM, invest in a solid-state drive (SSD), regularly clean your system, avoid malware, and guard against power outages and surges.