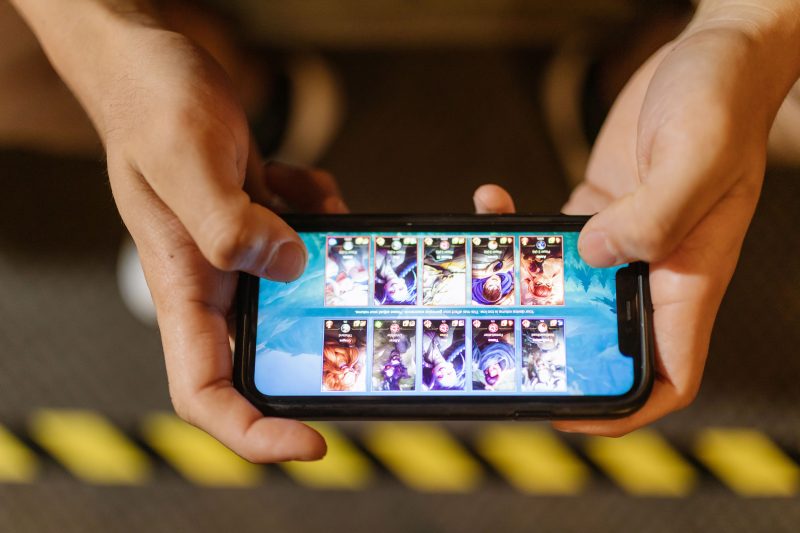
Standoff 2 is a phone game that has spent the last few years acting like it wants to be a PC game. Axlebolt’s free-to-play shooter has passed 300 million installs on Google Play, runs a global competitive scene, supports 120 FPS on capable devices, and borrows its whole identity from Counter-Strike – a game nobody in their right mind would play with two thumbs. So when you look for a Windows version, it feels like a practical joke that the developer’s own site offers none.
That is the first thing to understand about this entire subject: there is no official PC version of Standoff 2, and as of September 2026 nothing Axlebolt has announced (including the in-the-works client-server “remaster”) is a desktop client. Every guide you have ever read on the topic – including this one – is really about running the Android build inside an emulator and convincing it to behave like a native shooter. Done right, it genuinely feels native. Done carelessly, you’ll be fighting the keymapping overlay more than the enemy team.
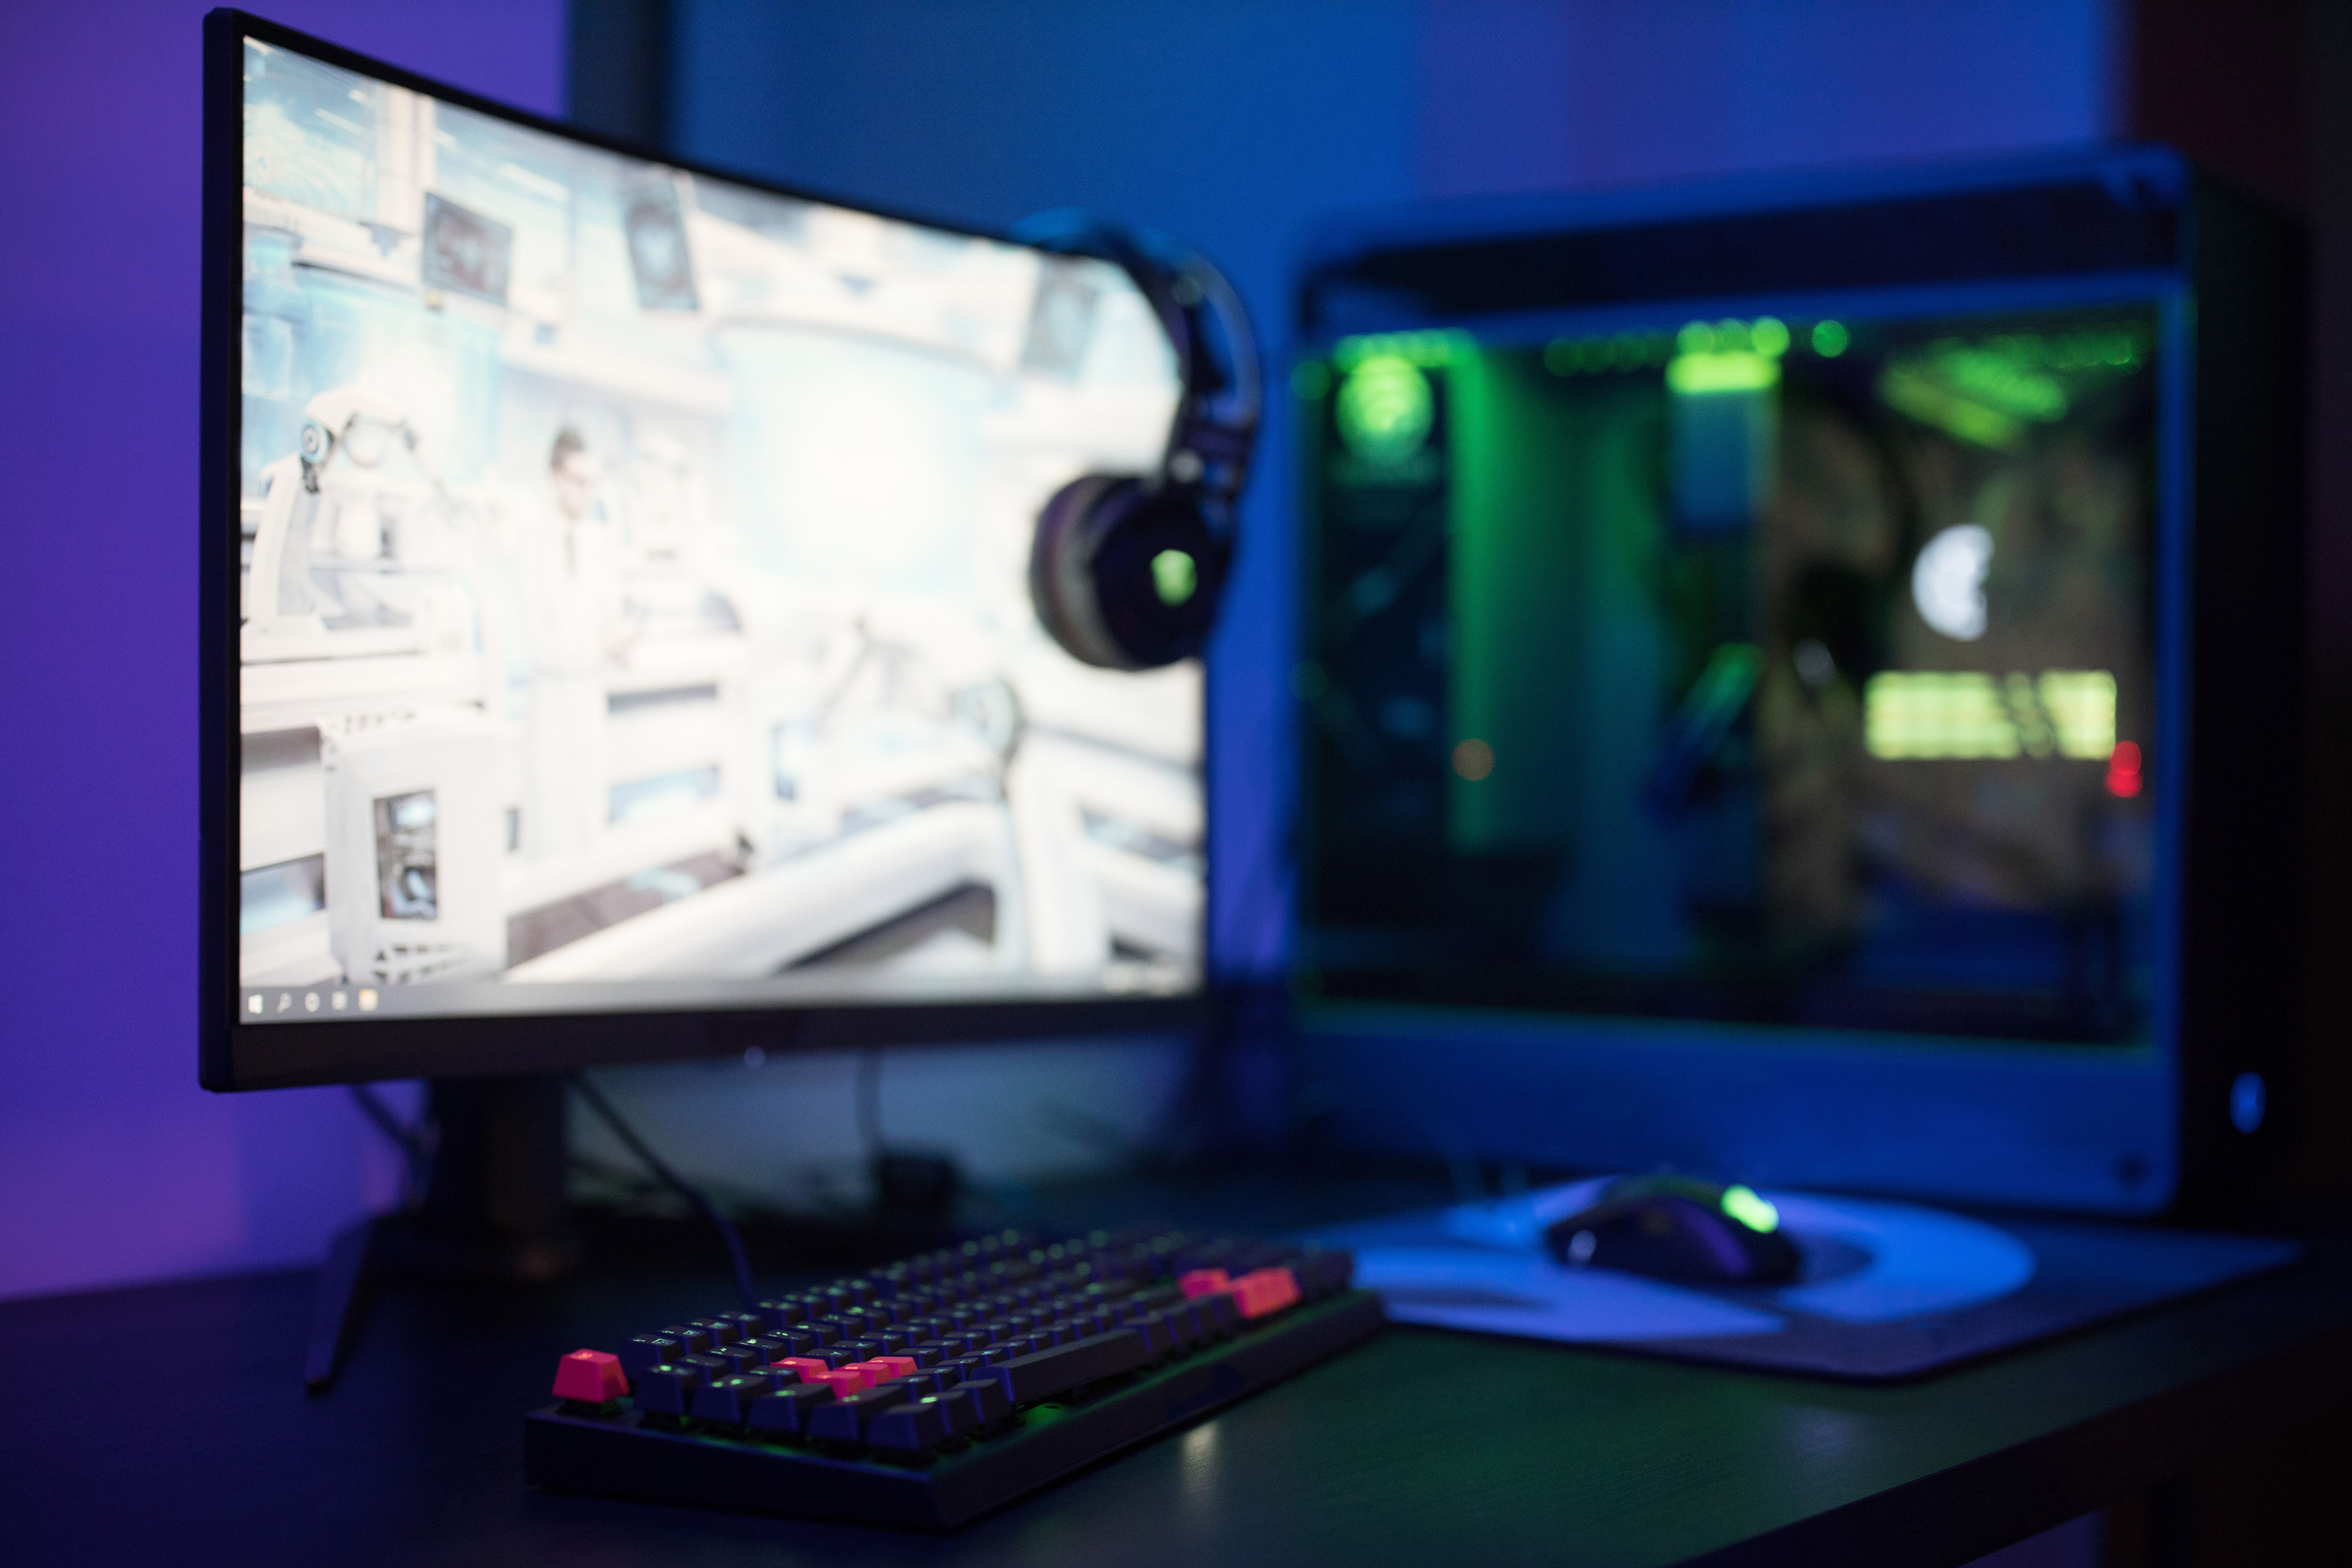
Before we get to emulators, key binds and the rest, settle one expectation. If you already own a recent phone, the PC setup is not about making Standoff 2 run better – a 2024 flagship will hit 120 FPS on its own. What a desktop gives you is a different class of input. And that matters here more than in almost any other mobile shooter, because Standoff 2 deliberately ships with no aim assist and no auto-fire. Every shot you land is a shot you placed yourself, which is exactly the design decision that makes a mouse so much more than a convenience.
Which emulator should you actually pick?
You have roughly four serious options on Windows – BlueStacks, LDPlayer, MEmu and GameLoop – plus MuMu and BlueStacks’ Apple-silicon build (BlueStacks Air) on Mac. They will all run the game, so stop treating this as a search for “the best one” and instead ask what each one optimizes for, because they genuinely differ.
BlueStacks is the most polished and the most aggressive about shooter conveniences. Its “Shooting Mode” lets you press a hotkey (F1 by default) to switch into mouse-aim mode, and its Smart Controls try to automate the toggling for you: when you open the buy menu with B, the cursor appears automatically, then shooting mode re-engages when you close it. If you play a lot of Defuse, that buy-menu hand-off is the single feature that will save you the most frustration.
LDPlayer is the lightweight pick and the one most players on mid-range hardware end up happiest with. Its keymapping editor is straightforward, and its presets hew closest to a conventional PC FPS layout, which means less time dragging virtual buttons around a screenshot.
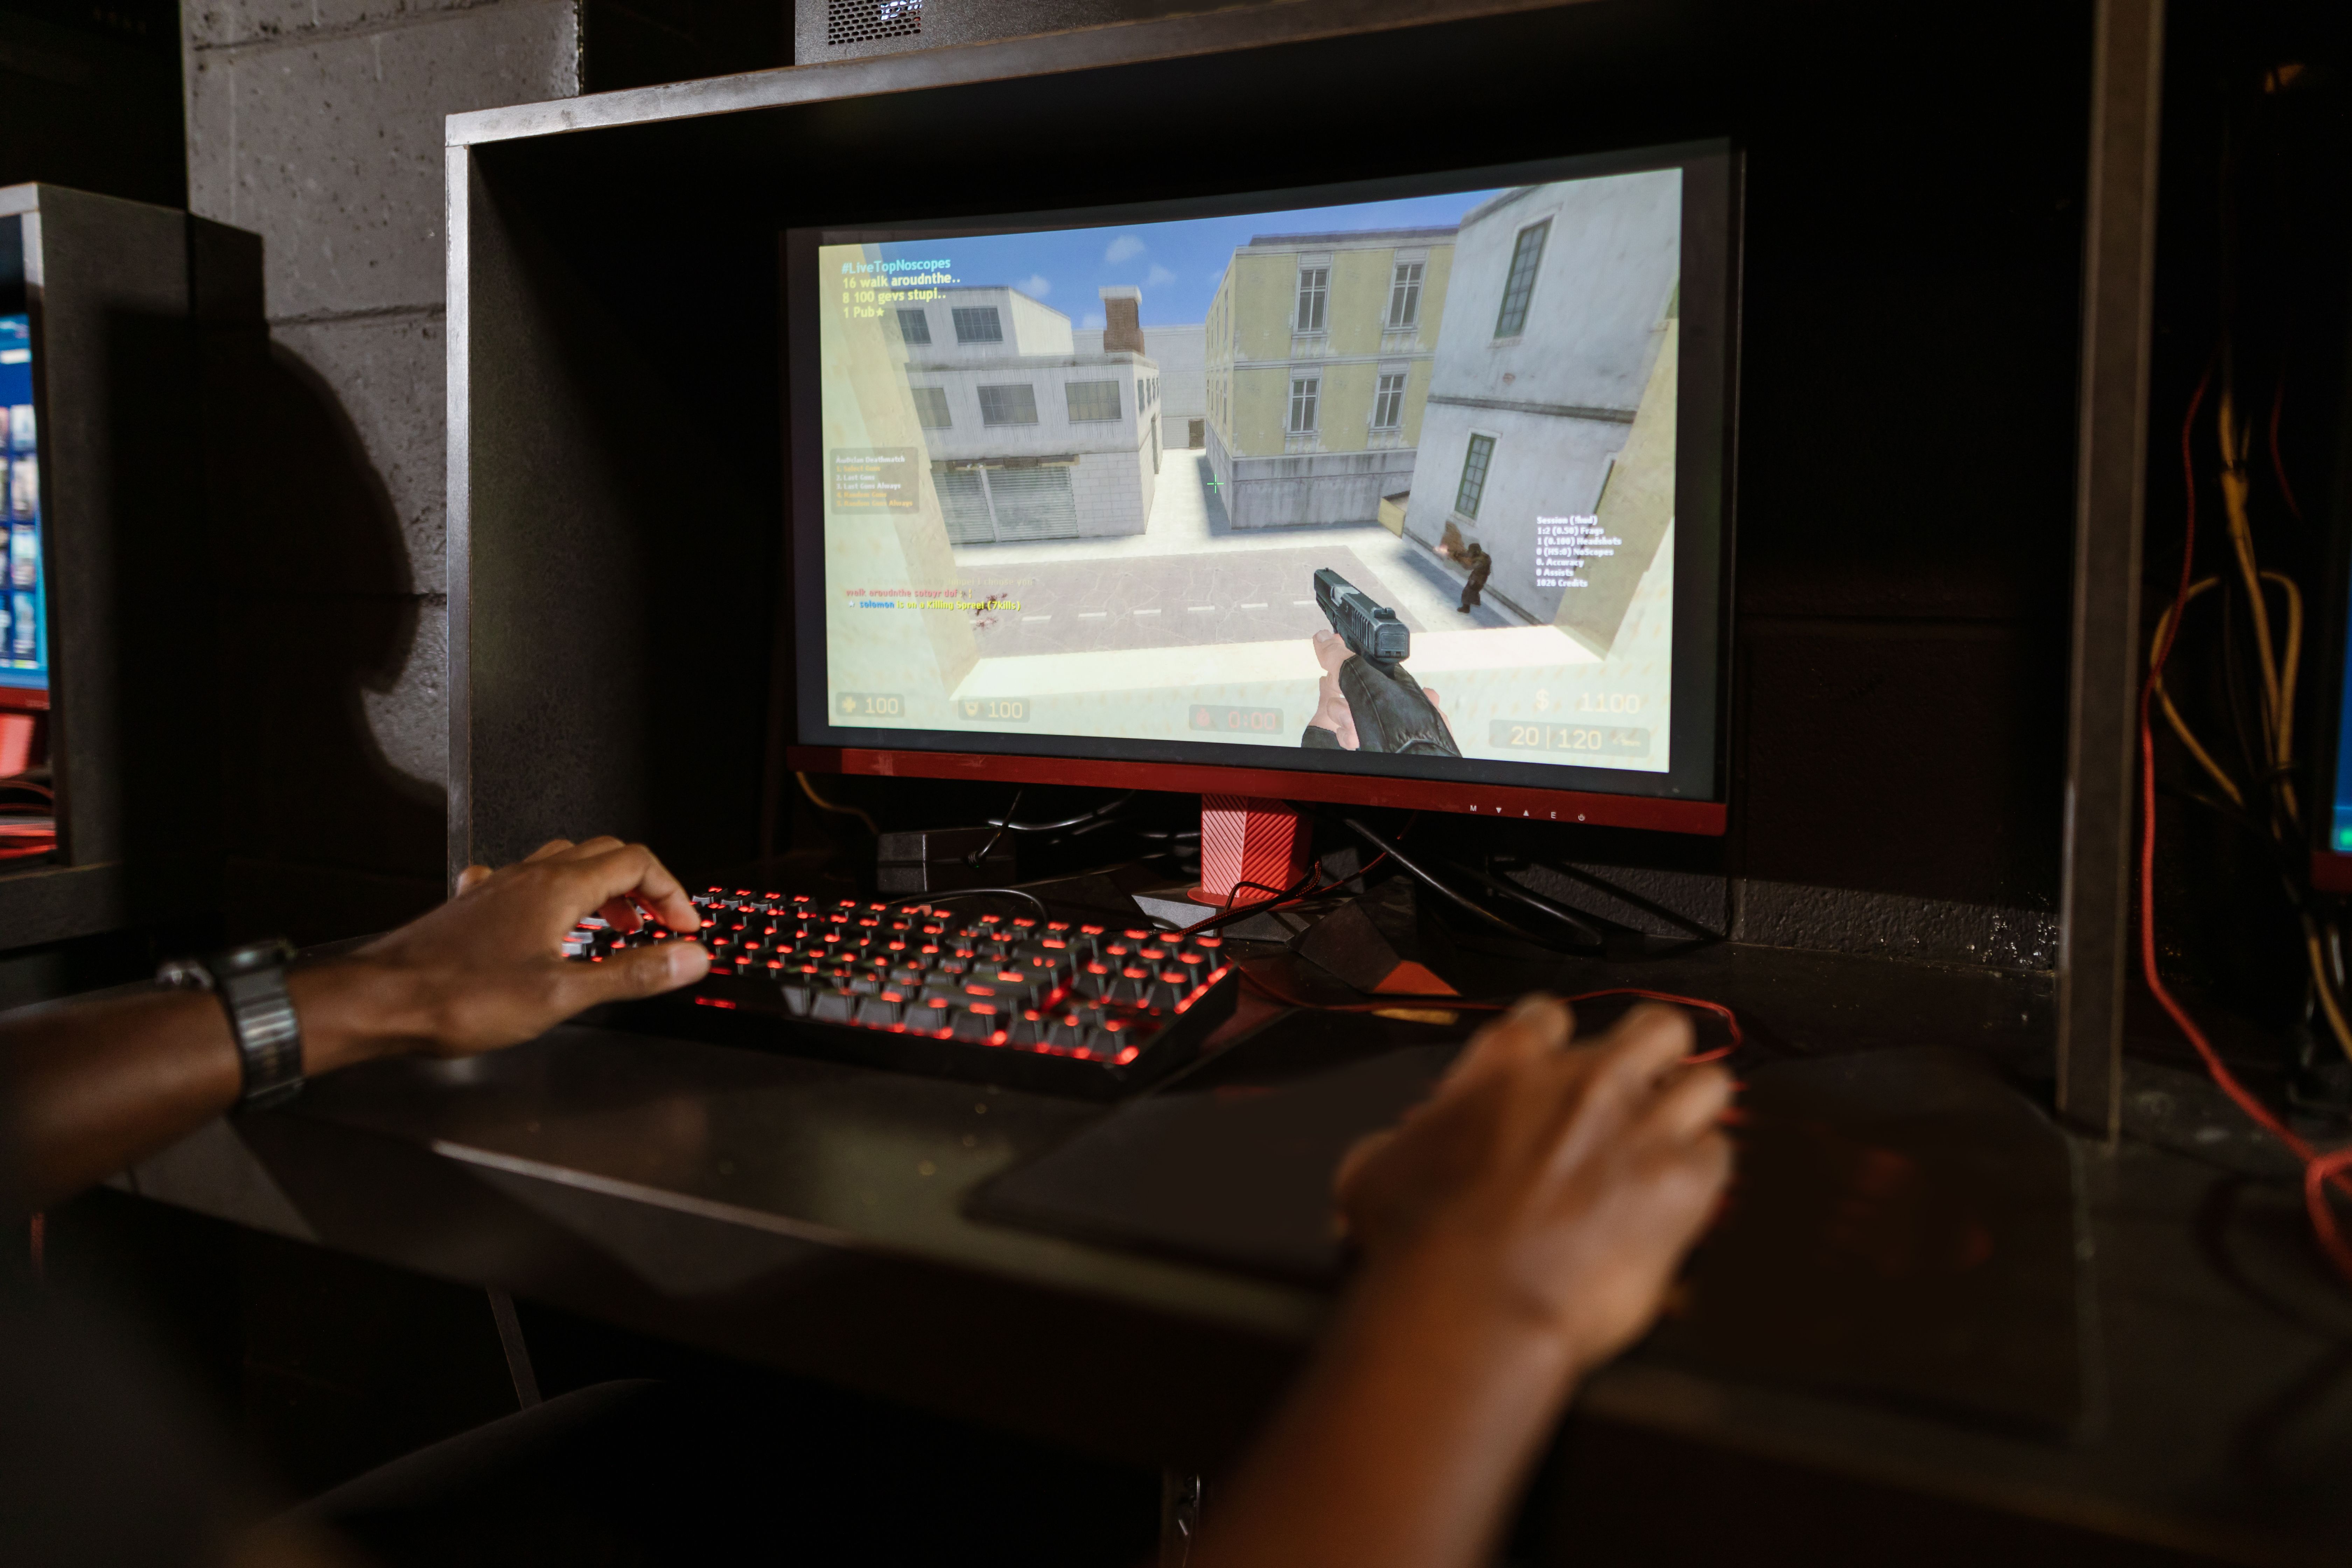
MEmu sells itself on multi-instance – running several accounts at once – which matters more to grinders than to ranked players. GameLoop is Tencent’s emulator, built shooter-first, though its availability outside certain regions has always been uneven. My honest advice: start with BlueStacks if you want the least setup friction, switch to LDPlayer if it feels heavy on your machine, and judge by feel rather than by which company wrote the more confident landing page. Every emulator’s marketing department claims to be the smoothest; your CPU is the only reviewer that counts.
Installing Standoff 2 on PC, in six steps
The process is the same regardless of which emulator you chose, and it is shorter than you think:
- Download the emulator from its official website only. Never from a third-party “optimized build” site – that is how modified installers and worse find their way onto people’s machines.
- Install it, launch it, and sign in with a Google account when prompted.
- Open the Play Store inside the emulator and search for Standoff 2. If you want the quick-start version of the whole process, you can download Standoff 2 for PC from that walkthrough and come back here for the tuning – the part that matters is installing from the official Play listing rather than a random APK mirror.
- Install the game, then launch it from the emulator’s home screen.
- Open the emulator’s keymapping editor (BlueStacks: Ctrl+Shift+A; other emulators have an equivalent button on the side toolbar) and apply the shooter preset if one is offered.
- Enter a Team Deathmatch or training match and confirm movement, aiming and mouse capture all work before you touch ranked.
If the mouse cursor won’t lock to the game window, that is almost always the emulator’s cursor-capture toggle or a second overlay fighting for your input – not a problem with the game. And if the game stutters, check whether hardware virtualization is enabled in your BIOS; every modern emulator leans on it hard.
A key layout you won’t have to relearn
Presets are starting points, not gospel. Most emulator defaults put something on every key and assume you will adjust, but few players bother – then they wonder why they keep panic-pressing the wrong button in a clutch round. The layout below mirrors what your muscle memory already expects from a decade of PC shooters. Exact defaults differ between emulators, so treat the key column as the target and rebind to match.
| Action | Recommended key | Why it works |
|---|---|---|
| Move forward / back / strafe | W / S / A / D | Standard; no relearning needed |
| Aim (look around) | Mouse | The entire reason you’re on PC |
| Fire | Left mouse button | Obvious, but verify it after every game update |
| Scope / aim down sights | Right mouse button | Instant scoping for the AWM and M40 |
| Reload | R | Near-universal |
| Jump | Space | Pinkie-free |
| Crouch | Ctrl (or C) | Both work; pick one and stay consistent |
| Walk quietly | Shift (hold) | Silent rotates in Defuse |
| Knife / grenades | 3 / 4 / 5 | Slot keys beat scrolling mid-fight |
A word on weapon switching specifically: bind your knife and nades to number keys rather than the mouse wheel. Scrolling past your primary to reach a flashbang is how you die with a pistol out. On BlueStacks, remember the buy menu lives on B and that Smart Controls will hand you the cursor there automatically; on other emulators you will toggle cursor mode yourself, so learn that hotkey before a ranked Defuse match, not during one.
Mouse feel is the whole point – and the game gives you nothing for free
Here is the part most guides bury, and it is the actual reason you’re doing any of this. Standoff 2 has no aim assist, which on a phone means every mobile player is fighting their own thumbs and gyroscope. Give that same game a mouse and you remove the difficulty the developers deliberately built in. A one-millimeter wrist flick now equals a headshot that a thumb player needs to line up across a six-inch screen.
To make that advantage real rather than theoretical, spend ten minutes on your mouse setup before you play a single ranked match:
- Turn off “Enhance pointer precision” in Windows and set pointer speed to the 6/11 notch. Mouse acceleration is poison for a shooter where you need to build muscle memory.
- Start at a low-ish sensitivity in-game and go lower rather than higher if you’re torn. You can always bump it up after you stop overshooting corners.
- Test in an actual match against moving targets. Standing in a practice range and flicking at static bots tells you nothing about recoil control.
- Keep your emulator’s “High FPS” mode on if your monitor supports it. Standoff 2 renders at up to 120 FPS, and a 144 Hz panel makes the difference visible even to people who insist it doesn’t matter.
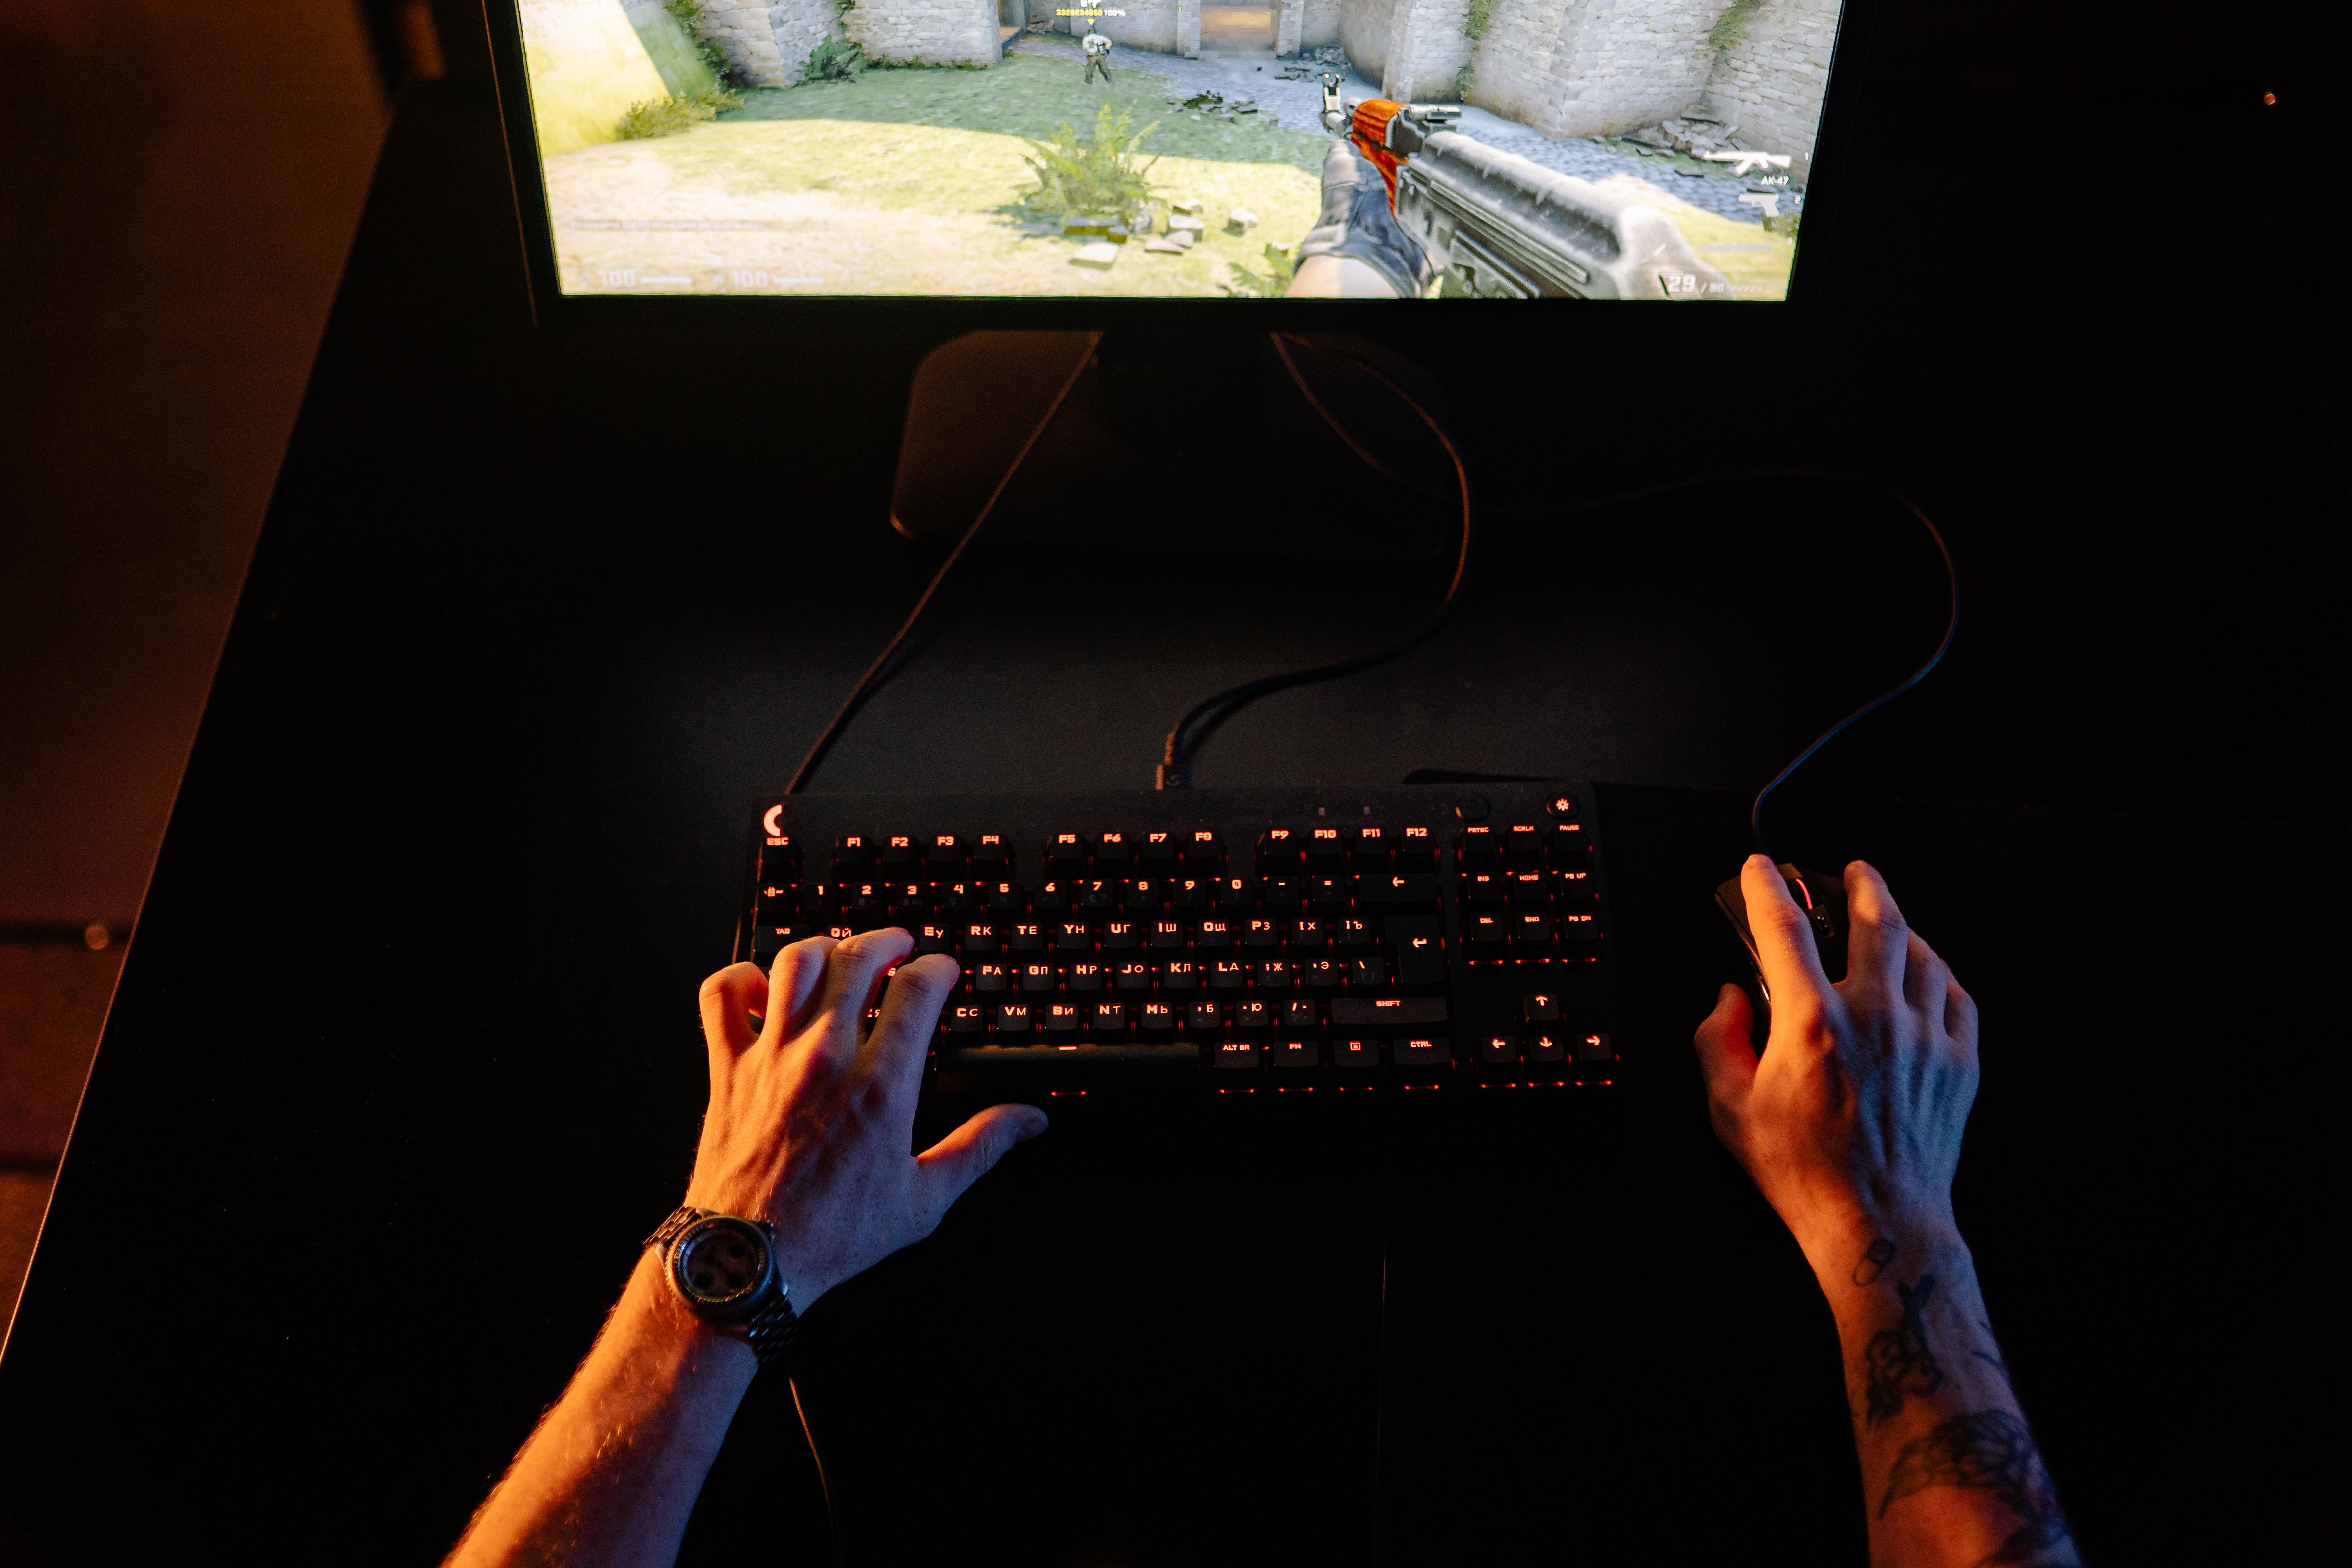
The trap is sensitivity roulette: changing your DPI or in-game sens every time you lose a round. Pick one number, commit to it for a week, and let the losses teach you positioning instead of sending you back into the settings menu. Consistency beats any single “pro” value you copy from a forum post, and every forum post claiming one magic sensitivity is selling you its own insecurity.
The fairness question nobody in the comments wants to answer
This is where I’ll take the side that gets you downvoted in the game’s Discord. Playing with a mouse against thumb players in the same matchmaking pool is a real, measurable edge, and the more you win because of it, the more you should be honest about what’s happening. Axlebolt’s own marketing leans hard on the line that only skills shape success, and there is a legitimate argument that a player aiming with a $60 mouse on a 24-inch monitor is not competing on the same terms as someone on a phone in a bus seat. Some games solve this with input-based matchmaking or controller lobbies; Standoff 2 has never shipped that, and I found no official statement from Axlebolt either endorsing or banning mainstream emulators.
So the steel-man of the “it’s unfair” crowd deserves a fair hearing, because it’s not wrong: same ladder, different hardware, and the hardware difference is doing a lot of the work. Where I land is this – playing on a well-known emulator is defensible; automating the game is not. Don’t install modified APKs, don’t run recoil-control or rapid-fire macros, and don’t use scripts that buy equipment for you. Axlebolt has said plainly that it is moving the game to a new server architecture with a stronger anti-cheat, and account bans for third-party interference are permanent. A clean keyboard-and-mouse setup is a fair fight you won with input precision. A macro is cheating with extra steps, and it will end your account either way.
What PC play is actually for
Once you’re set up, treat the desktop as a training tool and a ranked playground – not a shortcut to a pro contract. Standoff 2’s competitive circuit, including the majors that Axlebolt’s organizers run with real prize pools, is a mobile esport, and practicing on a mouse won’t replicate what tournament play demands of your thumbs. The value of the PC setup is sharper aim, faster warm-ups, and more comfortable grinding sessions on a monitor you can actually see.
For warm-ups specifically, Arms Race is your friend: it forces you through the whole weapon ladder, two kills per gun, which is the fastest way to shake off rust on recoil patterns you haven’t touched in a week. Team Deathmatch teaches you aim; Defuse teaches you everything else – the economy, the buy menu, the timing of a plant and defuse. Play the mode that punishes your weakest skill, not the one that flatters it.
One more thing worth knowing: Standoff 2 has been running since April 2017 on Android and March 2018 on iOS, and it’s still getting meaningful updates – Season 11 landed in 2026 with a redesigned interface, new maps and a skin marketplace. That longevity is why the emulator route is worth taking seriously at all. This isn’t a game you’ll install, play for a weekend and abandon; it’s a live title with a ladder that resets and rewards every season, which makes the hour you invest in control setup an investment that pays off for years, not days.
Frequently asked questions
Do I need an emulator to play Standoff 2 on PC?
Yes. There is no native Windows or macOS version of Standoff 2, and Axlebolt has not announced one. An Android emulator is currently the only way to play the game on a desktop.
Is playing Standoff 2 on an emulator bannable?
Axlebolt has never issued an official statement blessing or banning mainstream emulators like BlueStacks or LDPlayer. The widely used route is installing the game from Google Play inside the emulator and playing with normal keymapping. The bans you actually hear about come from modified APKs, cheats and combat-automation macros, which the strengthened anti-cheat in the game’s new architecture targets directly.
Will I be matched against mobile players?
Standoff 2 has no input-based matchmaking option, and I could not verify any system that separates emulator players from phone players. In practice you will face thumb players, which is precisely why the mouse is such a large edge – and why you should keep the setup clean rather than stack automation on top of it.
What PC specs do I need?
BlueStacks lists Windows 7 and up, 2 GB of RAM and 5 GB of free disk space as its floor. Treat that as the minimum to boot the emulator, not as a target for a competitive shooter – for smooth high-FPS play you’ll want a more modern processor, 8 GB or more of RAM, and hardware virtualization enabled in the BIOS.
Can I play Standoff 2 on a Mac?
Yes, with caveats. On Apple silicon Macs, BlueStacks Air (which supports the M1 through M4 chips) and MuMu are the practical options. On older Intel Macs, emulator support has become increasingly limited, so check compatibility before committing.
Does my progress carry over between PC and phone?
Because you’re installing the same game and logging into the same account inside the emulator, your rank, inventory and profile are the ones tied to that account. If you switch between devices, make sure you’re signing into the identical account on each.
Bottom line
Playing Standoff 2 on PC with a keyboard and mouse comes down to three decisions: which emulator suits your hardware, whether you’re willing to spend one evening binding controls properly, and how honestly you treat the advantage you’re giving yourself. The first is a matter of taste, the second is the difference between feeling native and feeling clunky, and the third is the difference between a skilled player and a ban waiting to happen. Get all three right and you will wonder, every time a thumb player out-aims you, how they managed it – because the mouse is the easy part.
How this article was put together. Facts on Standoff 2 – release history, game modes, the absence of aim assist, and install counts – were checked against the Google Play listing and the game’s Wikipedia entry during research on 8 September 2026. Emulator features (BlueStacks Smart Controls and Shooting Mode, LDPlayer keymapping, MEmu multi-instance) come from the respective emulators’ official pages. Anti-cheat and remaster statements come from Axlebolt’s own community and news channels. Emulator bans are a gray area with no official Axlebolt ruling either way, so I have flagged it as such rather than asserting a position; emulator system requirements change with each release and should be rechecked before installing.